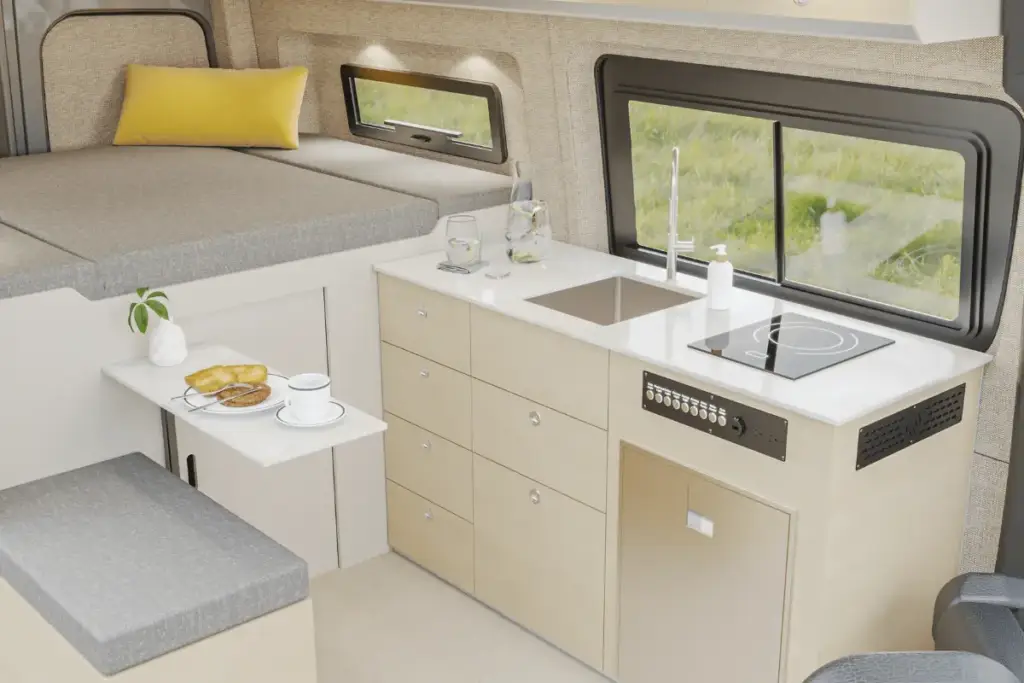
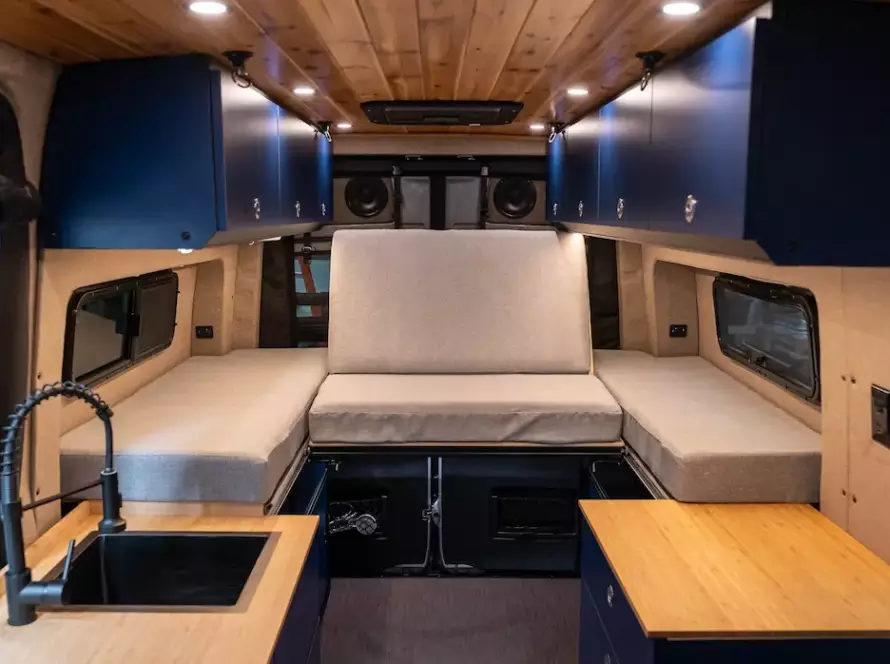
A camper van oven is one of the most “hot properties” inside an RV. An oven inside the van encourages healthy and minimalistic eating habits and saves money in your outdoor adventures. However, proper installation is inevitable to ensure its effectiveness and efficiency. There are some thoughtful steps for a safe and effective camper van oven installation. In this comprehensive guide, we have arranged the steps sequentially so the oven installation inside your campervan becomes as smooth as a warm knife on a slice of butter.
6 Steps to Installing Camper Van Oven
You will need a planned outline of the steps and some tools to install an oven in the campervan. Asking for professional help may be the best idea for such a delicate project. However, knowing the process always helps. In the section below, we have described 6 intuitive steps for camper van oven installation- check them out!
-
Step 1: Choose Your Oven
There are several types of ovens you can install inside your campervan- range ovens, dutch ovens, or wall ovens. Whichever you choose, consider the energy efficiency, size, and cleaning process of the oven you want to use. Do your research on oven brands, price, and ease of installation. There are several popular brands of campervan ovens, such as Omnia, Dometic, Thetford, Voyager, and so on. Your budget can be a driving force in choosing the brand, as some brands are comparatively more cost-effective than others.
You may also consider digital air fry ovens as a relatively new option for camper van kitchens. Brands like Breville, Ninja, and Cosori are quite popular manufacturers of these ovens.
-
Step 2: Plan Your Space
Just like the kitchen in your home, ovens inside your campervan need a designated place to be installed. The location largely depends on the size of the van and the oven. Consider the layout of your campervan to find out where you will get proper ventilation for the oven and space to move while cooking. Remember, the fire safety of your campervan should be your first priority when planning a space for oven installation.
-
Step 3: Gather Tools and Materials
You will need some tools such as a screwdriver kit, drill, wrenches, and nut drivers for the oven setup. Several tool businesses offer a complete set of tools for kitchen appliance installation. Use hand gloves and safety glasses for self-safety. If you are installing an eclectic oven, you may additionally need electric work tools like multimeters and electrical tapes.
-
Step 4: Install Gas or Electric Supply
There are plenty of oven designs available in the market. However, considering the use of energy or biofuel, there are two oven options for van life: LPG gas stoves and electric ovens.
For the stoves that use LPG as fuel, you will have to start the installation process by incorporating a gas tank. You can do it yourself only if you have experience in DIY oven installation. Otherwise, you must get help from professionals. There are several safety valves in the gas tank and gas line and measures to consider when installing a gas oven installation. These are very less likely to be in perfect shape without the touch of experienced hands.
Electric ovens are a little bit easier in terms of installation. If your RV already has a campervan electric system, connecting the oven to a power supply will make it ready to use. Do the amperage calculations before the installation of an electric oven. Amperage calculation ensures that the electrical wires can handle the amperage required. It will save the campervan’s electrical system from accidents and electrical faults. Additionally, the battery of your campervan electrical system should be in good condition.
-
Step 5: Connect to the Ventilation System
The camper van oven should have a ventilation system. Appropriate camper van ventilation reduces the heat, humidity, and pollutants that can cause potentially icky problems in your van conversion. There are three types of campervan kitchen ventilation systems: downdraft, updraft wall mount, and updraft island mount. Choose the type that complements the layout of your RV. When connecting the oven to the vent, place duct seals inside the vent’s metal jackets and use mobile clamps. This will prevent grass leakage during cooking inside the van.
-
Step 6: Test Your Oven
Imagine a scenario: You just reached the campsite, thinking that a cup of coffee would bring charm to the wilderness. But the oven you recently installed isn’t working. All the efforts, time, and expenses have no meaning left. To avoid such surprises, test your oven and fix any issues before you start driving to your camping site.
Benefits of Installing Camper Van Oven
The biggest benefit of installing a camper van oven is that it is going to save a decent amount of money. You don’t have to buy food from outside; you can choose a healthy and cost-effective menu for yourself, and you won’t have to burn extra fuel looking for a restaurant. In the section below, we have discussed some other benefits of installing a camper van oven,
-
Versatility
A camper van oven unleashes the freedom to choose what you want in a meal. It breaks the boundaries of a set menu of prepared meals. You can try the juiciness of a steak and the freshness of vegetables anytime you want. You no longer have to take several days old baked bread for your supper.
-
Comfort
A camper van oven unleashes the freedom to choose what you want in a meal. It breaks the boundaries of a set menu of prepared meals. You can try the juiciness of a steak and the tasty pizza anytime you want. You no longer have to take several days old baked bread for your supper.
-
Healthy Eating Options
Ready-to-eat processed foods are not the healthiest options for your body. In the majority of camping trips, people choose fast food-style dining options. Junk food negatively impacts overall health and physical well-being.
Additionally, junk foods have several negative impacts on the human brain and overall psychological health. Continuous consumption of gluten-based junk food can ruin the joy of camping by causing dizziness and stuffed feelings. You can also use a camper van oven to boil drinking water to purify it from contamination. Cooking your own food and eating it fresh promotes mental joy at the campsite. Eating healthy keeps you away from hospitals and keeps your mind jolly.
-
Cost Efficiency
Campervan ovens are long-term investments for cost-efficient camping. You will enjoy the benefits of fresh-cooked foods while camping for years. It will save the money burning on restaurant-made fried chicken and cheeseburgers.
Taking the benefits we have mentioned into account, it is clear that camper van ovens are recouping investments in your conversion. It will save money on food, keep you away from unhealthy eating habits, and protect your mind from the obsession with stuffed stomachs.
Conclusion
A campervan oven can change the entire camping experience. Fresh food, warm coffee, and peace of mind- what else would anybody be looking for at a campsite? If you need a camper van oven in your existing conversion or are just thrilled with a dream of a new one, Highland Vans can help you with that.
At Highland Vans, we specialize in van builds and conversions. The campervans we build will give you the same comfort as an extended house in the van life. Feel Free To contact us at (866) 751-7358. Let’s make dreams come true together!


